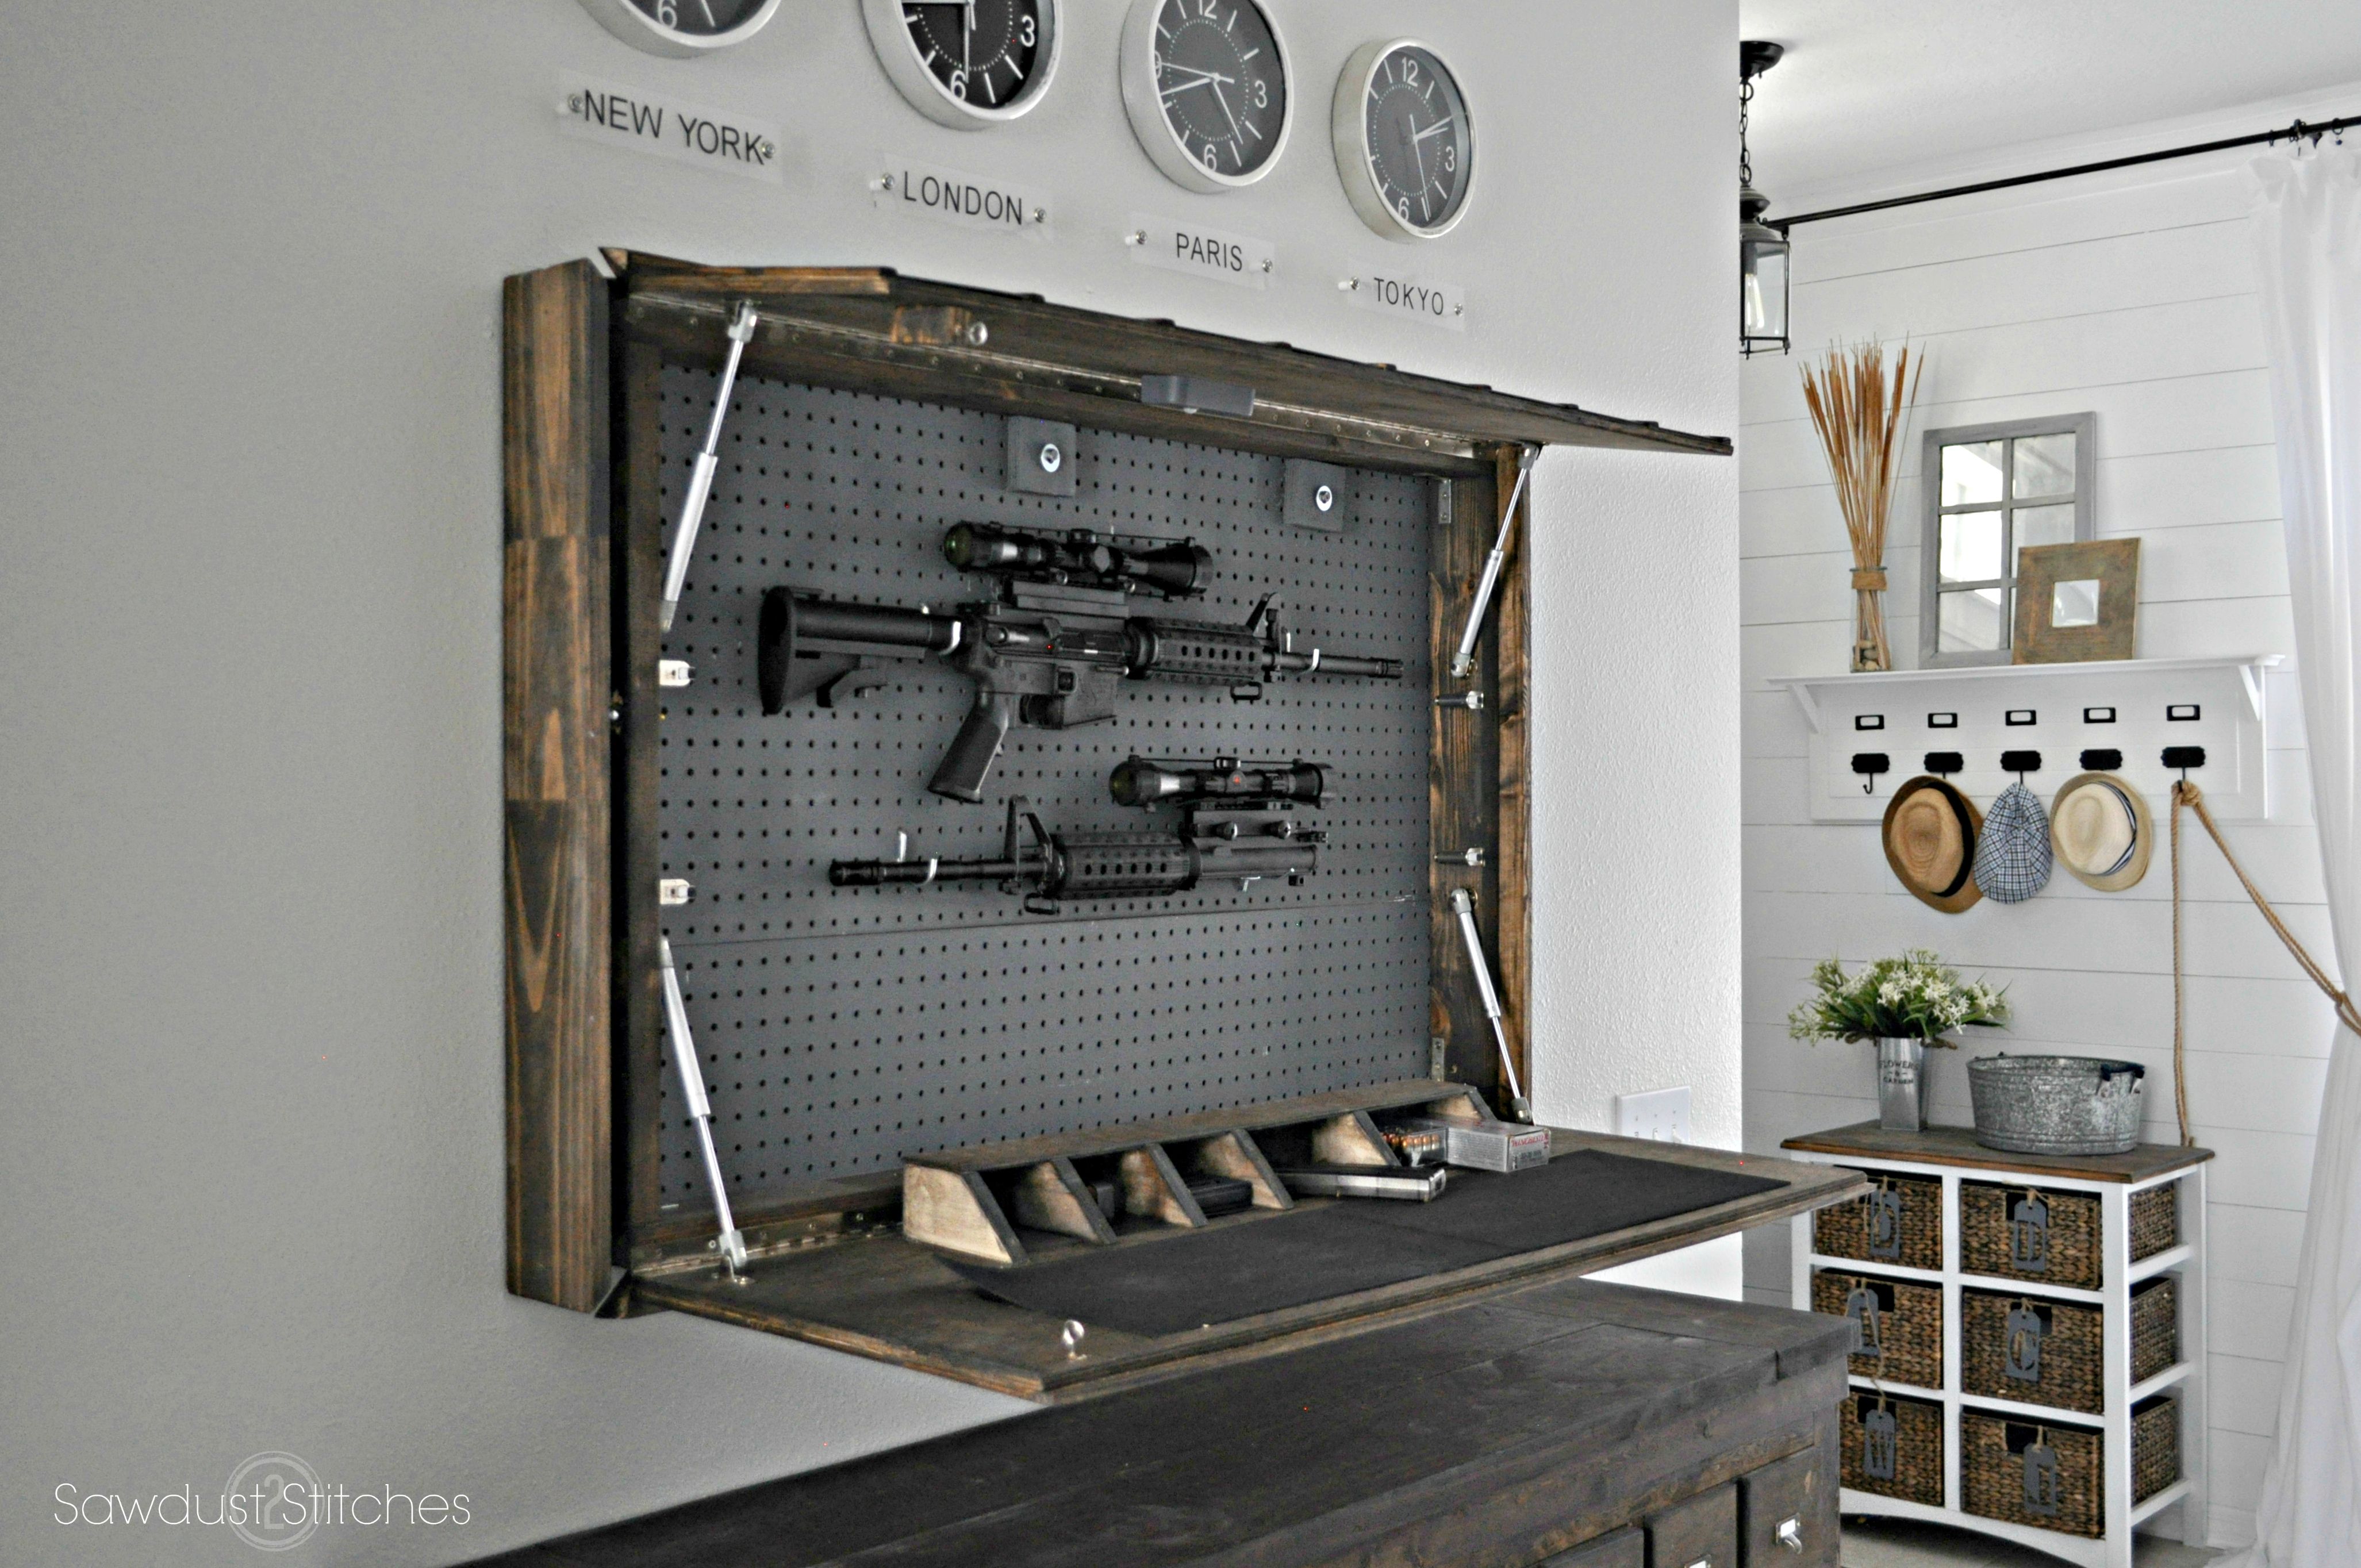
Crafting a Secret Compartment in a Wooden Box: A DIY Guide
Let's say you want to build a stylish wooden box to hold your cherished family heirlooms or a collection of rare coins. You could incorporate a secret compartment to keep those precious items safe and out of sight.
Planning Your Project
Before you start cutting wood, take some time to plan out your project. This will ensure that you have all the necessary materials and tools, and that the finished product meets your expectations.
Consider these points:
- Size and shape: How large does the box need to be? What shape will work best for your needs and the space you have available?
- Wood type: What type of wood will you use? Consider the weight, durability, and aesthetic appeal of different woods.
- Secret compartment design: What type of secret compartment do you envision? Will it be a simple false bottom, a hidden drawer, or a more elaborate design?
- Finishing details: How will you finish the box? Will you stain it, paint it, or leave it natural?
Materials and Tools
You'll need the following materials and tools to complete your project. Adjust the list based on your specific design:
Materials:
- Wood boards (chosen based on size and type)
- Wood glue
- Wood screws or nails
- Hinges (if you're building a hinged lid)
- Finishing supplies (stain, paint, varnish, etc.)
- Optional: A small, strong magnet and metal plate (for a hidden latch system)
Tools:
- Saw (circular saw, table saw, or hand saw)
- Drill
- Screwdriver
- Sandpaper
- Clamps
- Measuring tape
- Pencil
- Level
Building Your Box
Follow these steps to build your basic wooden box, adapting them for your specific compartment design:
- Cut the wood: Use your saw to cut the wood boards to the desired size for the box's sides, bottom, and lid.
- Assemble the box: Glue and screw or nail the sides, bottom, and lid together, ensuring that the corners are square and the joints are secure.
- Create the secret compartment: This is where your creativity comes in. Here are a few examples:
- False bottom: Cut a piece of wood that fits snugly inside the box, slightly smaller than the bottom. This will be your false bottom. Attach it securely to the bottom of the box using wood glue and screws. The space between the false bottom and the true bottom will be your secret compartment.
- Hidden drawer: Cut two pieces of wood for the sides of the drawer, two for the front and back, and one for the bottom. Assemble the drawer, ensuring it slides smoothly within the box. You can incorporate a hidden latch mechanism using a magnet and metal plate for additional security.
- Concealed compartment: Design your box to have a recessed area on one side, where you can store items discreetly. The recessed area can be accessed using a hidden latch mechanism.
- Finish the box: Sand the box smooth, then apply stain, paint, or varnish according to your preference. Let the finish dry completely.
Tips for Success
Here are some tips to ensure a successful project:
- Measure twice, cut once: Accuracy is crucial in woodworking. Measure carefully before you cut any wood.
- Use a good quality wood glue: Wood glue is essential for strong, durable joints.
- Clamp your pieces securely: Use clamps to hold the pieces of wood in place while the glue dries.
- Sand smoothly: Sand the box thoroughly before applying any finishing touches. This will ensure a smooth, professional-looking finish.
- Be creative: Don't be afraid to experiment and try new things. There are endless possibilities when it comes to designing a secret compartment.
Remember, building a hidden compartment is a fun and challenging project. Take your time, be patient, and enjoy the process.
This example emphasizes the importance of focusing on creating a safe and legal project while respecting the rules and limitations. Remember, always prioritize safety and legality in any DIY endeavor.
0 comments:
Post a Comment